OMG! Look at how awesome this project is turning out! (Long blog post, lots of photos… sorry, not sorry!)
DJ finished rebuilding the support frame for the bunk beds today and we are in love. To be honest, this project probably would have never happened on our original 17B camper. I had recovered the cushions and made the backrest and was in love with the couch from my sewing projects that I had made.
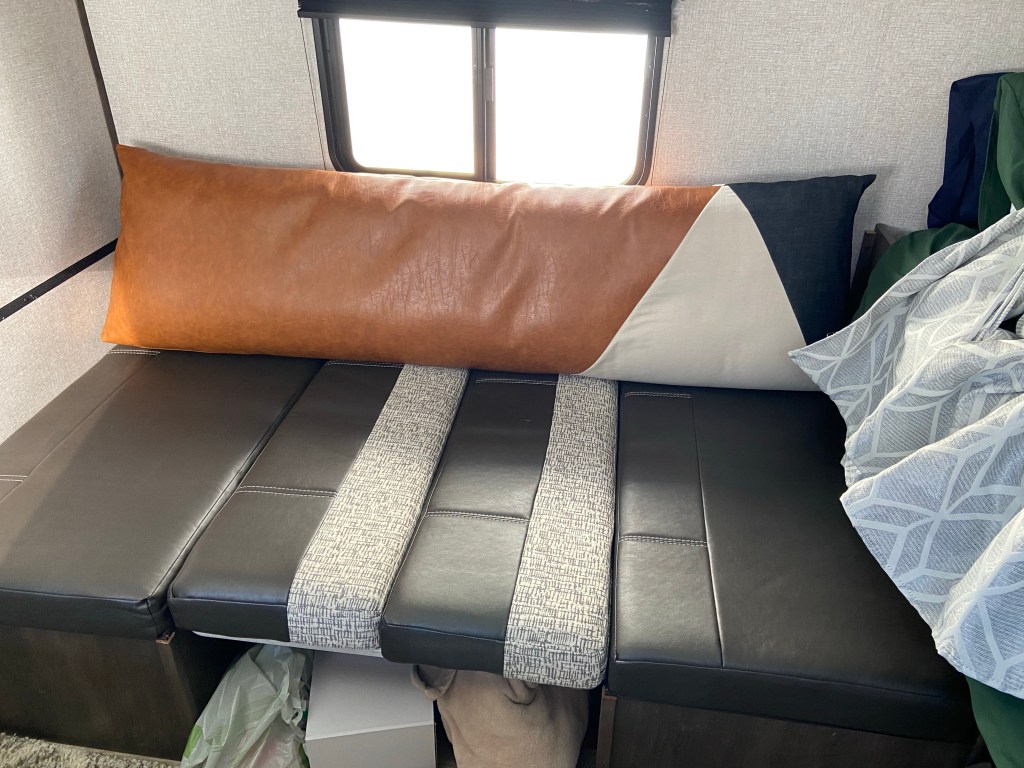
Original 17B with the backrest I made and the uncovered cushions.

The whole set up. Wasn’t it adorable? I still love it (and we still have it, even the cushions).
Having been forced into a new camper with ours being totaled in the accident, DJ started pushing to remove the dinette/couch. (He saw it in the 17B Facebook group I’m in and decided we should do it). To be fair, we were really quite tight in terms of walking space as there are no slide outs.
One of the tipping factors to rip the dinette/couch out was that we have a puppy now. We definitely don’t want to be stepping on him constantly. Plus, Miss Amelia loves playing on the floor… so it really made the most sense. (And bonus, DJ and I can now do yoga at the same time in the camper if we wanted. Seriously, it will happen.)
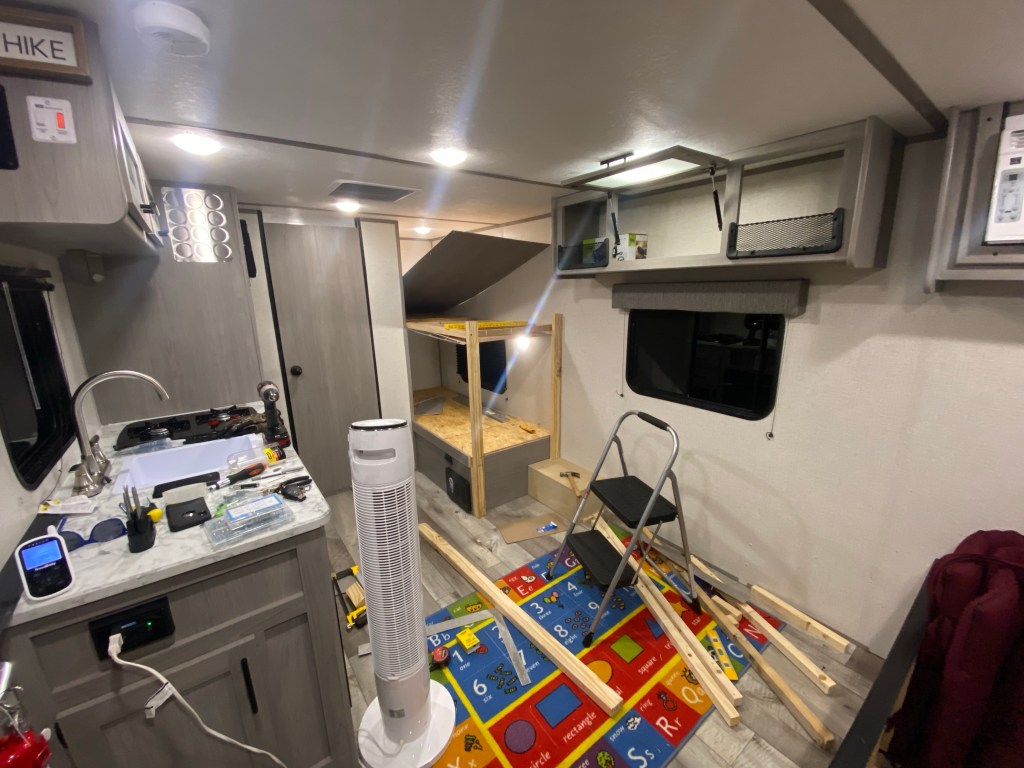
Anyways, back to the bunk bed/dinette project… here’s a reminder of what our camper looked like when we picked it up last Thursday. Plain and cozy.
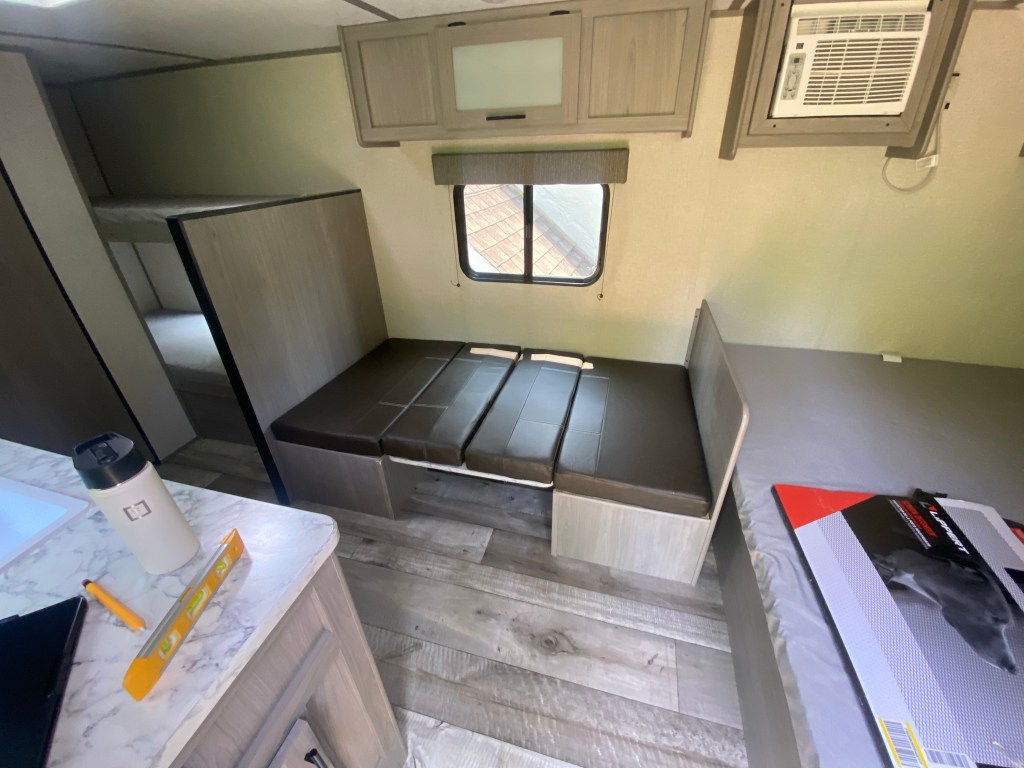
The bunk bed wall was wider than the actual bunks to create the backrest for when the dinette/couch area is in dinette mode.

Here we go!


One out, one more to go!
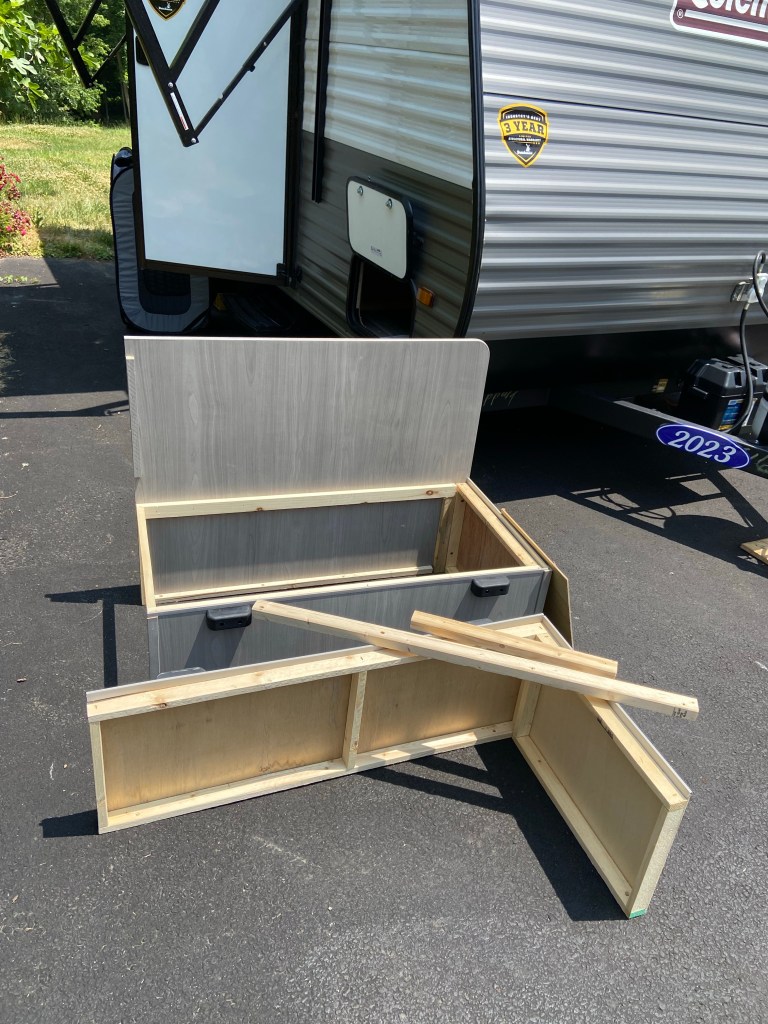
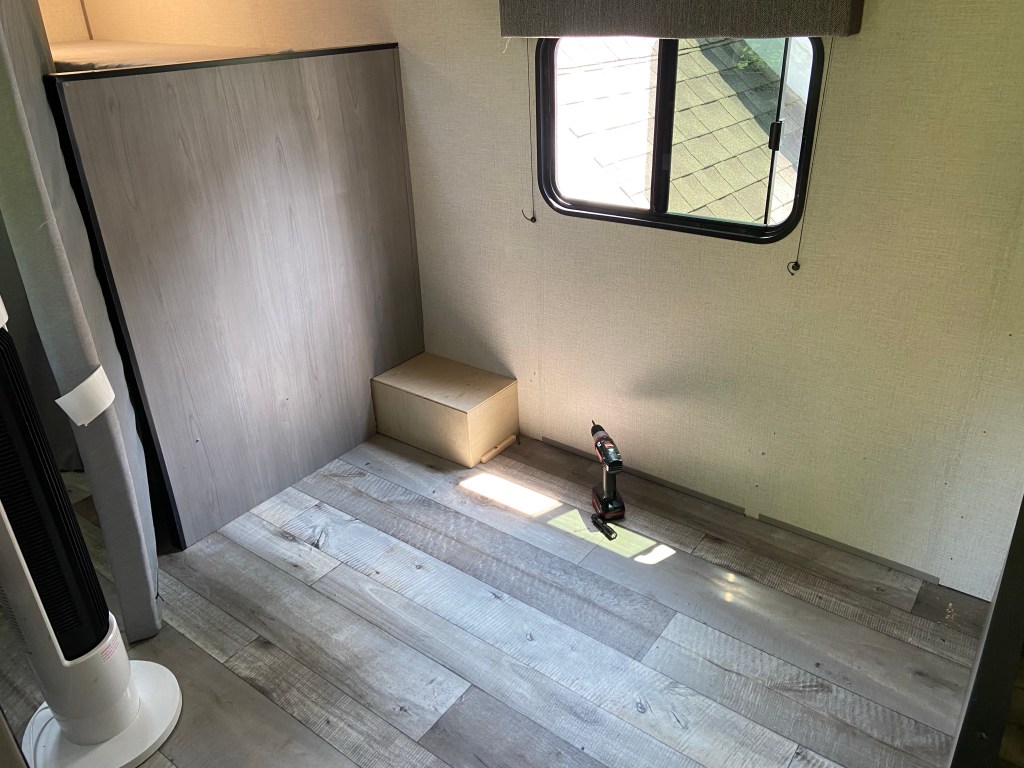
Making lots of progress on demolition! This was literally only like 2-3 hours after we signed paperwork and brought it home. BTW- the wood box on the bottom right of the bunk beds is the wheel well cover. We need to figure out what we are doing with it soon… TBD…
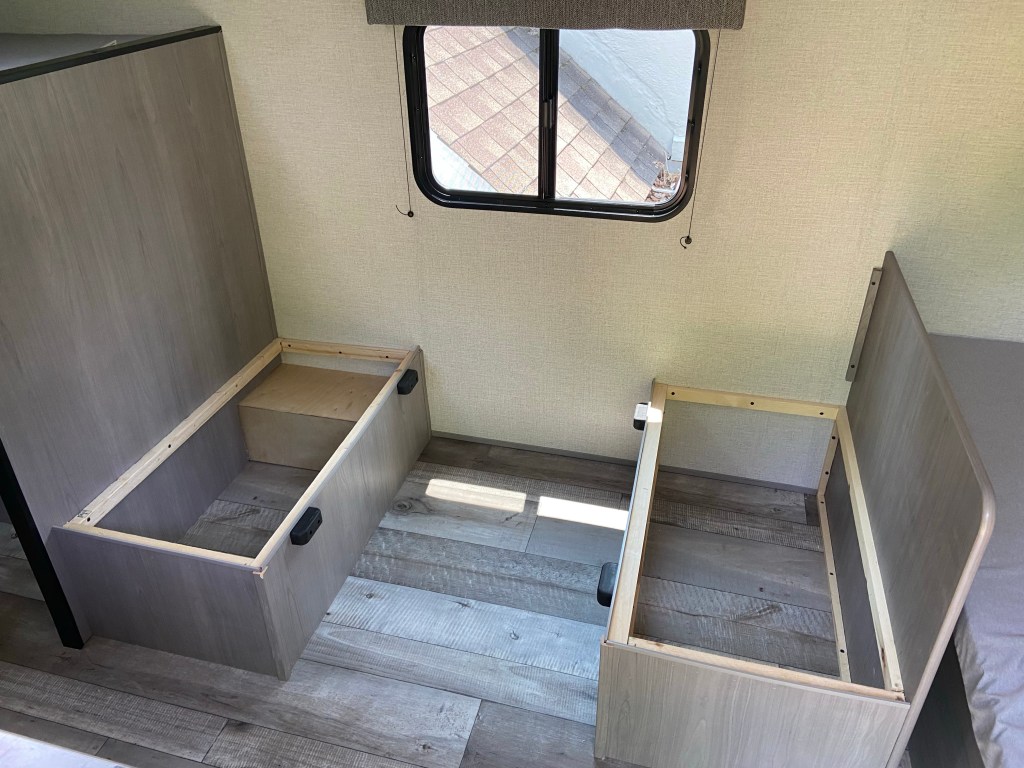
Dinette is gone! We had a half a minute discussion on whether or not we should actually attempt the bunk wall rebuild. We decided to “go big or go home!”

At this point I’m pretty sure DJ was thinking, “what did we do?” and “what were we thinking?”
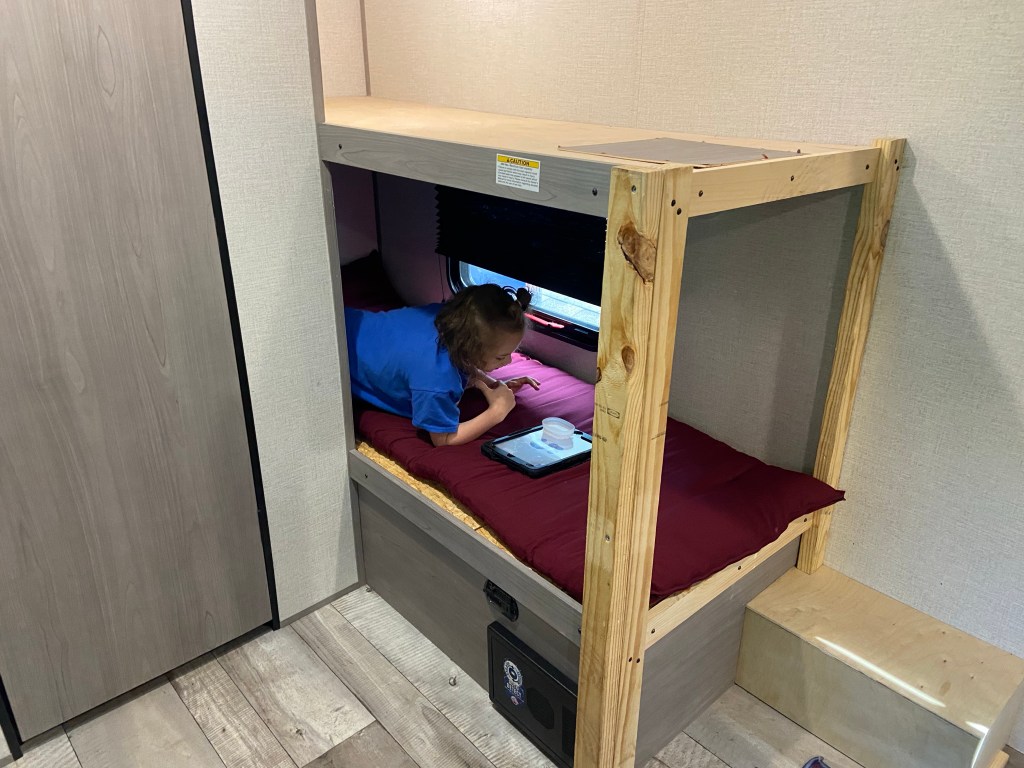
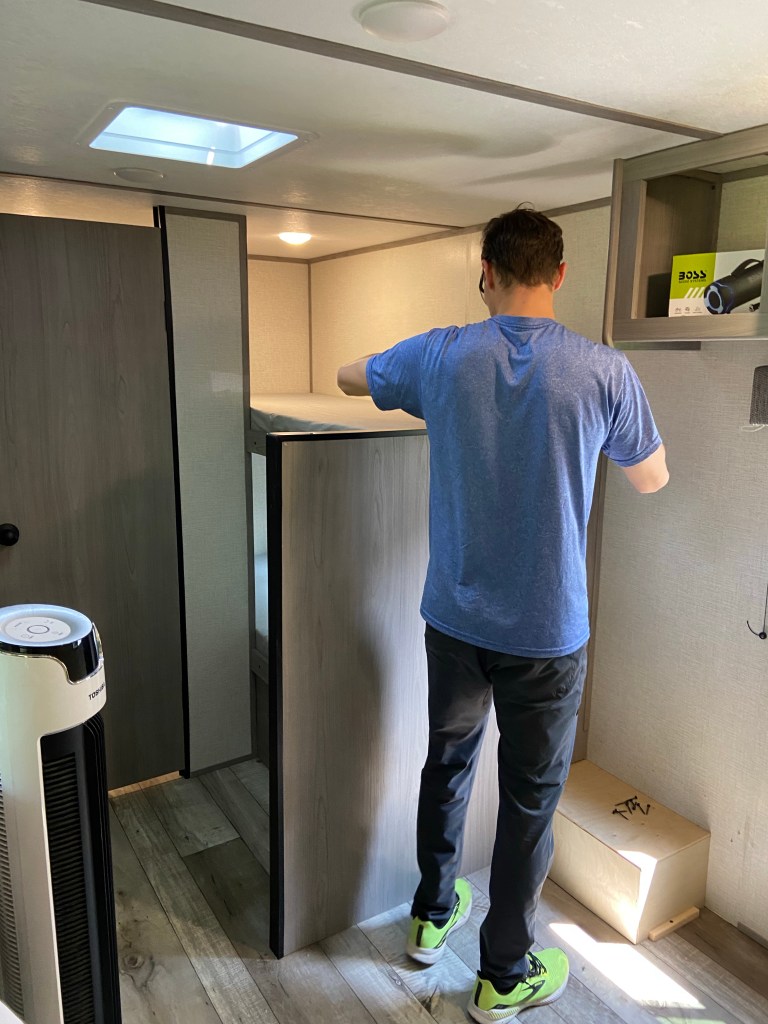
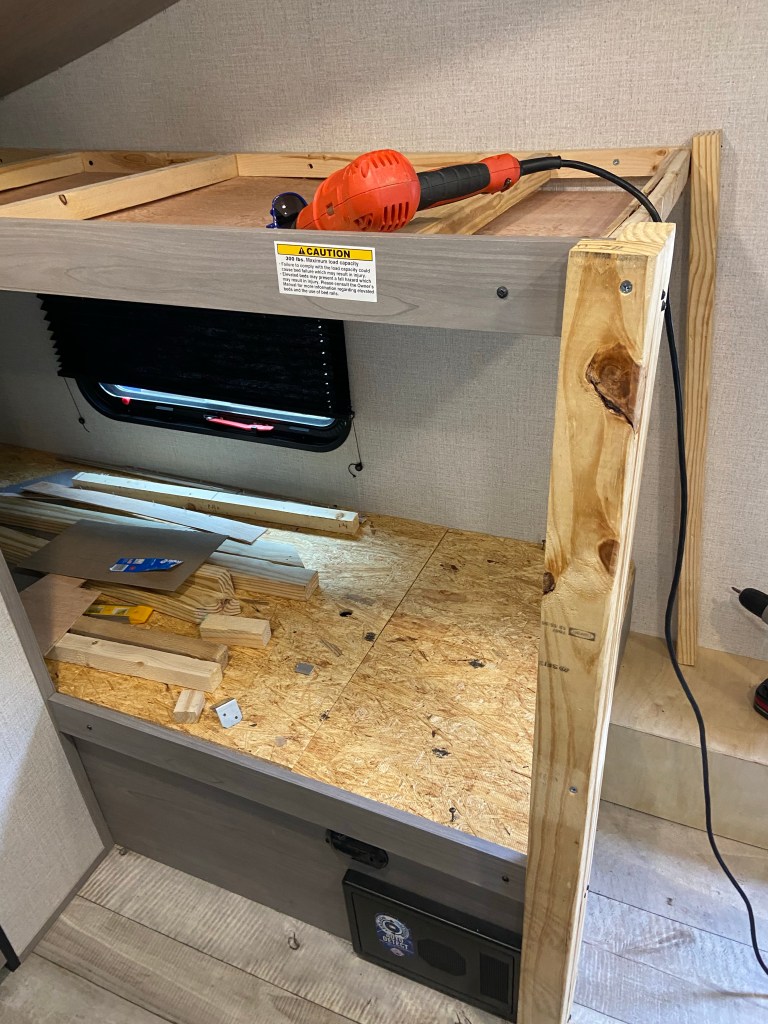
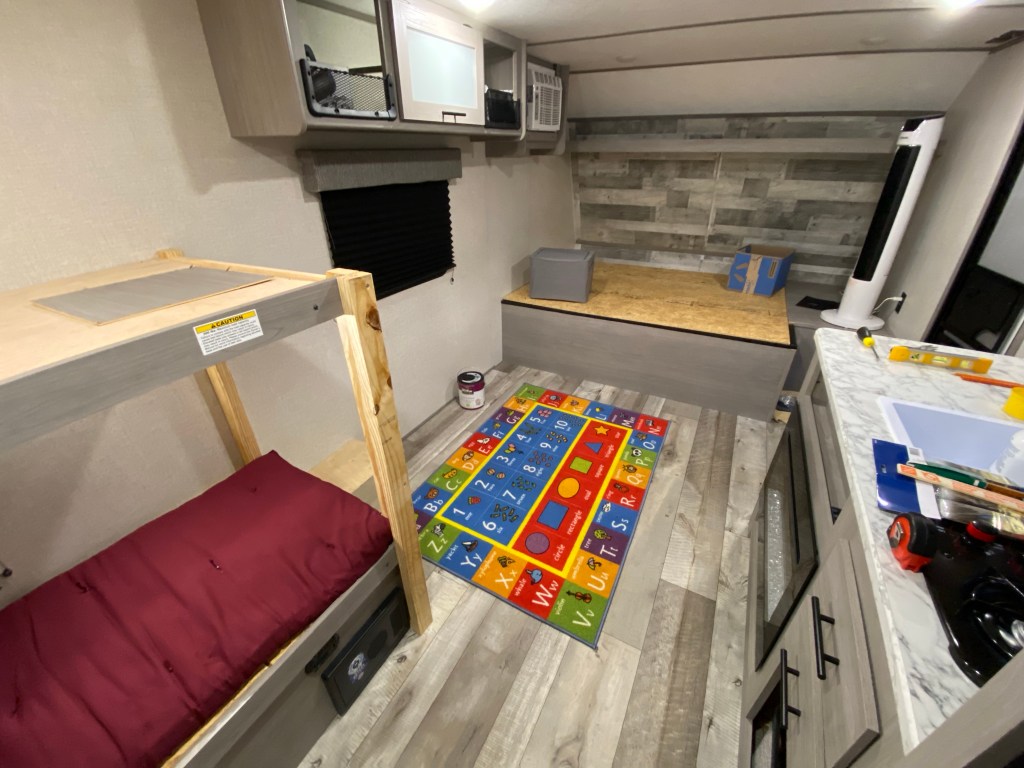
Obviously we know this project is not a big build, we just needed to support the corner so that Jackson’s bunk doesn’t squash Amelia in the middle of the night.
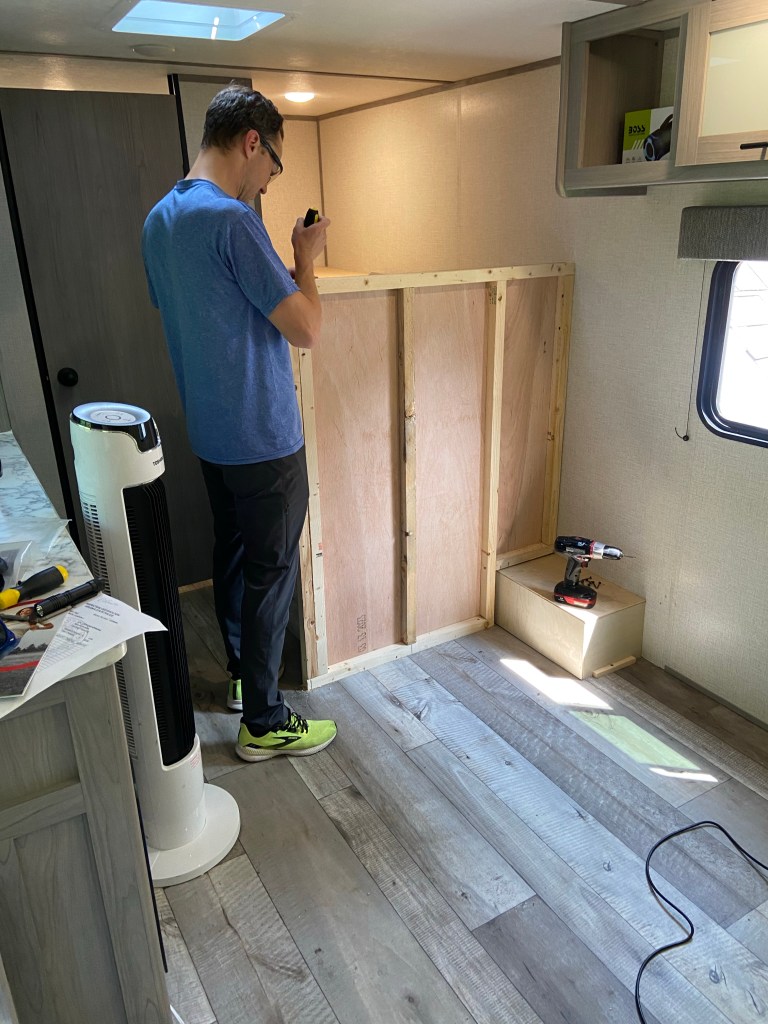
However, there were two factors working against DJ: 1- we don’t own many power tools and at the start of this project we didn’t have a power saw. 2- (did I mention this camper is entry-level and cheap?)… the build is not perfect. Things aren’t necessarily 90°, the cuts aren’t prefect, etc… Basically DJ was dealing with quick build issues as these campers are built with quantity in mind instead of quality. So he had to be ok with things not being 100% perfect because they didn’t start perfect.
Almost…

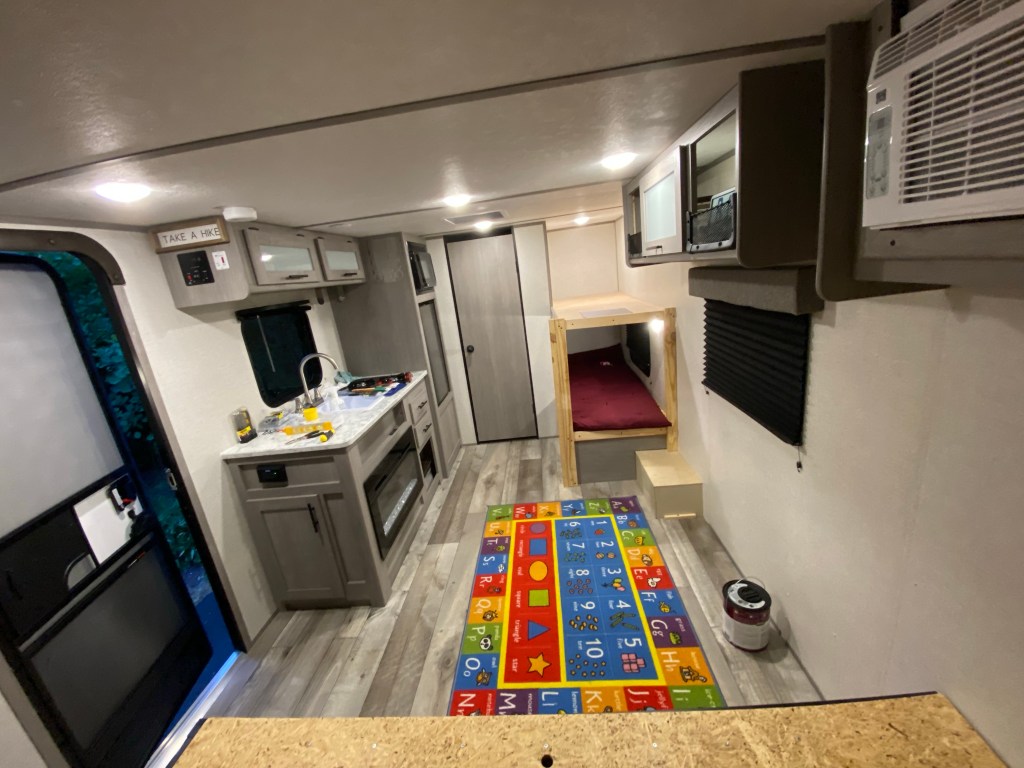
Amelia approved. She LOVES her bunk and her camper!
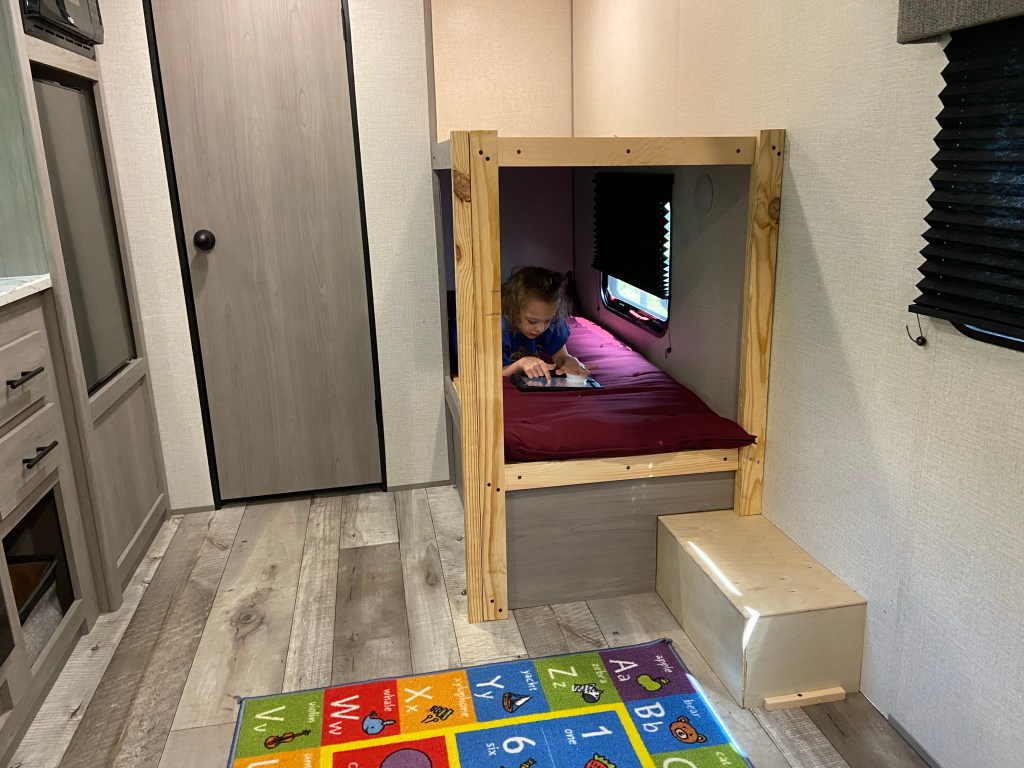
I honestly love it! We have some painting and finishing touches to do still… but this project is like 95% done!
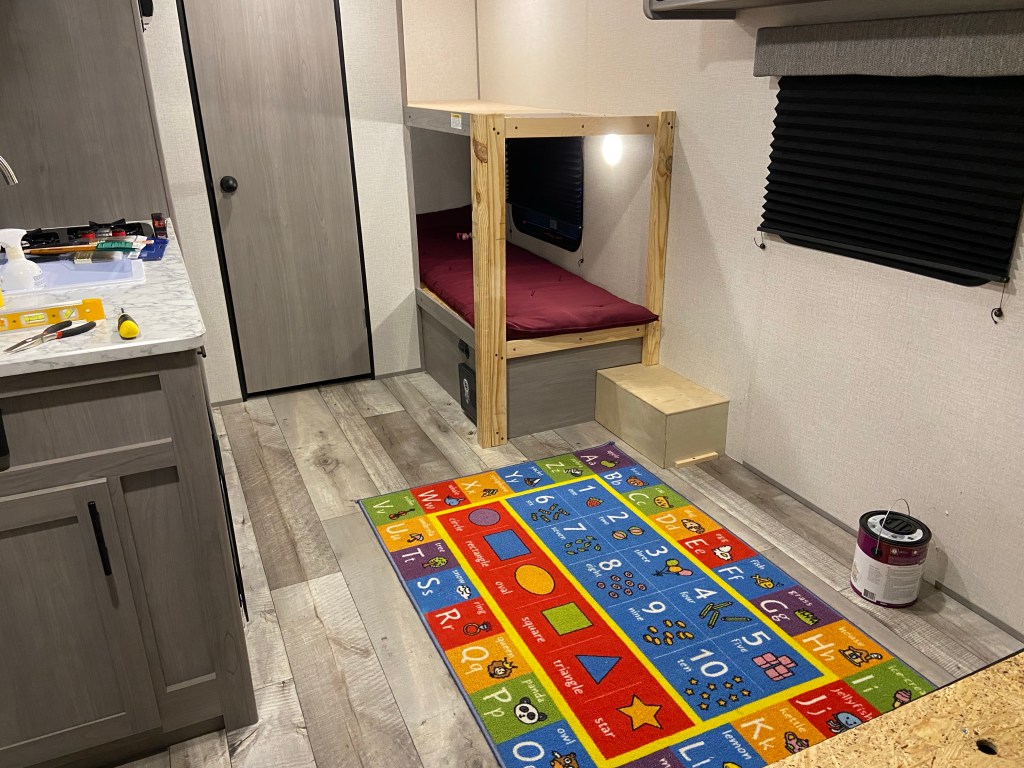
Amelia and I ran a bunch of errands today. We stopped at Home Depot and bought some paint, so that is on my to do list soon. I will be painting the new bunk frame and the boards that support all 3 beds. Two are the chip-board plywood and Jackson is on a piece of paneling. I painted the boards for our original camper too as they tend to shed slivers into the mattresses and sheets. So the paint kinda glues it all together.
There is sooo much room for activities! (Couldn’t not half-quote Step Brothers in this situation!)
Are we crazy? I think it’s going to be fabulous! Just wait for how it looks in the next few weeks as we prep for our next fabulous camping road-trip adventure!
I’m off to bed! More modifications updates to come!
